





How to Inspect Wire Rope for Wear Before It Becomes a Safety Issue
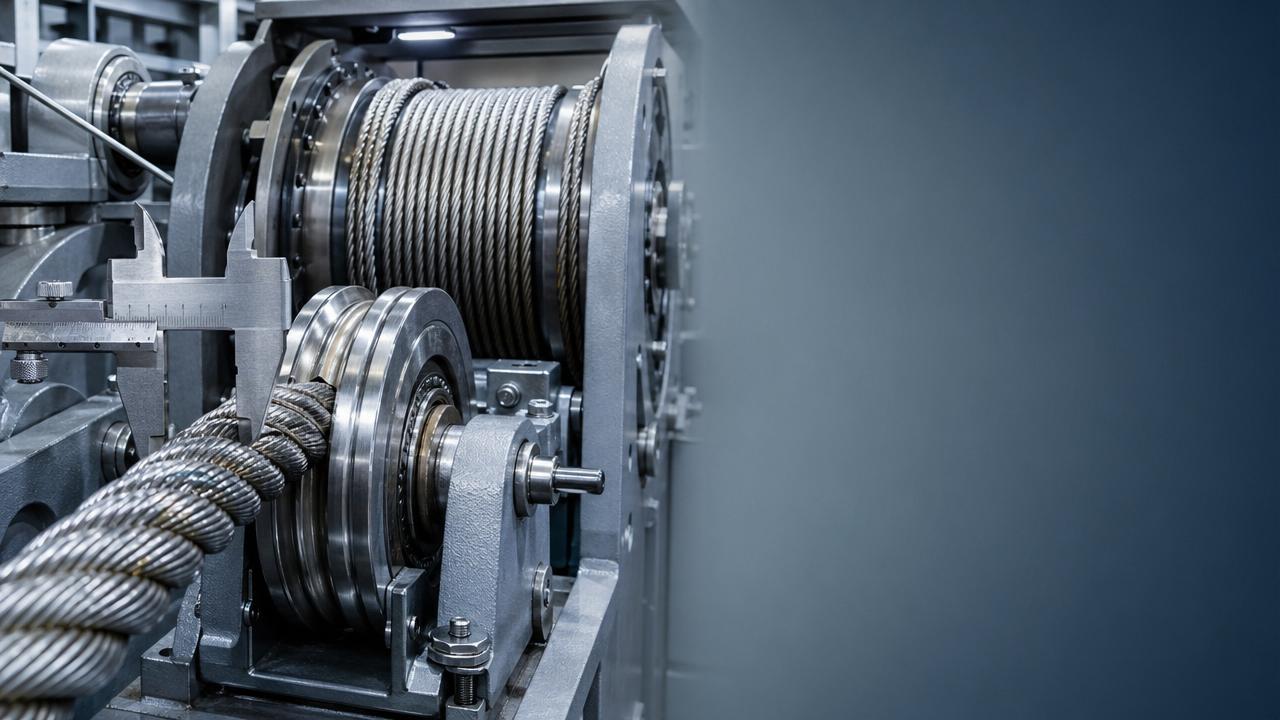
Wire Rope inspection is a critical first step in preventing equipment failure, unplanned downtime, and serious safety incidents. For quality control and safety managers, knowing how to identify wear, corrosion, broken wires, and deformation early can make inspections more reliable and risk decisions more accurate. This guide explains what to check before damage becomes a costly or dangerous issue.
In industrial equipment and components environments, wire rope often works under cyclic loading, vibration, bending over sheaves, exposure to moisture, dust, chemicals, and variable temperatures. These conditions accelerate deterioration long before failure is visible from a distance. A structured inspection process helps teams detect warning signs early, plan maintenance windows, and reduce the chance of unsafe lifting, hoisting, pulling, or support operations.
For quality control personnel and safety managers, the goal is not only to spot damage, but to make defensible decisions based on repeatable criteria. That means checking the right points, using consistent intervals, documenting findings, and separating cosmetic surface issues from true service-life threats. The sections below outline practical inspection methods, risk thresholds, and field-ready decision rules for wire rope in industrial use.
Why Early Wire Rope Inspection Matters in Industrial Operations
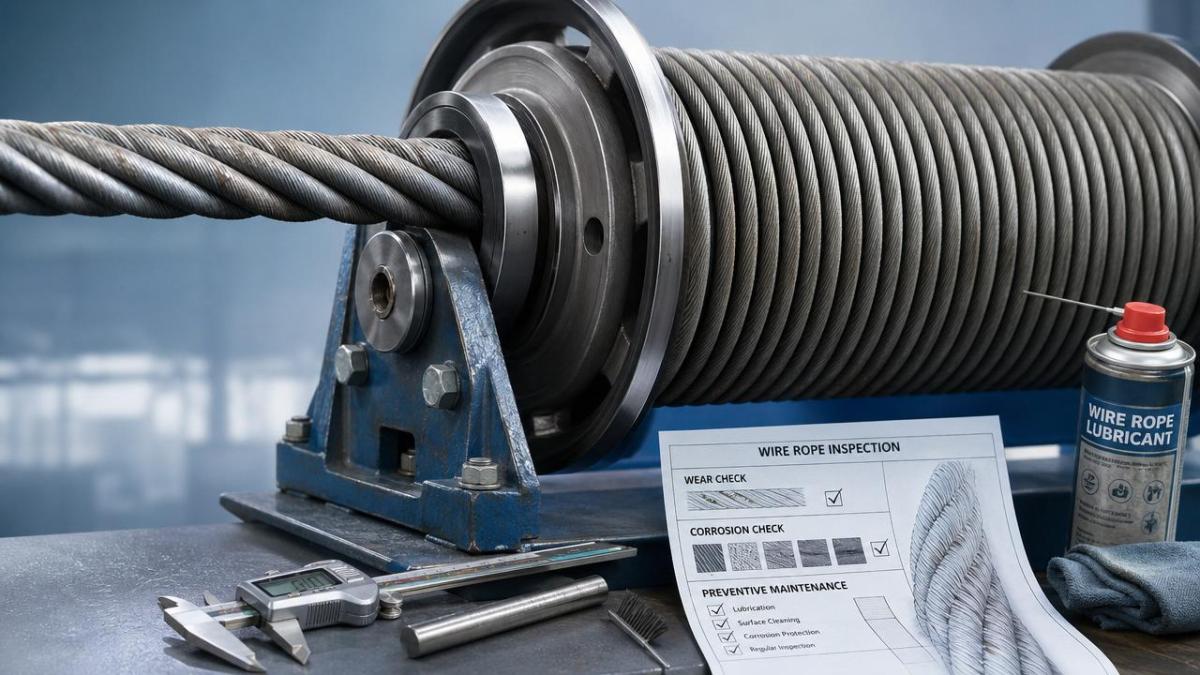
Wire rope rarely fails without warning, but the warning signs are often missed when inspections are informal or rushed. A rope may continue operating after small defects appear, yet the margin of safety can shrink quickly under shock loads, repeated bends, or poor lubrication. In a plant, port, mine, warehouse, or construction support setting, even 1 damaged rope can stop a crane, hoist, winch, or lifting line and create costly downtime.
From a safety standpoint, inspections should be tied to actual service conditions. A rope in light-duty indoor use may be reviewed on a weekly visual basis, while a rope exposed to abrasive particles, marine air, or high-duty cycling may need daily checks and a formal documented inspection every 30 days. The more severe the environment, the shorter the interval between reviews and the lower the tolerance for uncertain damage.
Early detection improves maintenance planning. Replacing a wire rope during a scheduled 4-hour shutdown is very different from dealing with a sudden stoppage in the middle of production. For quality control teams, a reliable inspection routine also strengthens traceability: date of inspection, defect type, rope location, affected length, and recommendation can all be recorded and reviewed over time for trend analysis.
Common operational consequences of missed wear
When wear goes unnoticed, the consequences are not limited to rope replacement cost. Hidden internal corrosion can reduce metallic cross-section, localized abrasion can increase stress concentration, and deformation can interfere with drum spooling or sheave tracking. In many cases, the first visible failure sign appears only after the rope has already lost a meaningful portion of its original performance capability.
- Unplanned downtime caused by emergency removal of a damaged rope.
- Higher inspection burden on connected components such as sheaves, drums, hooks, and terminations.
- Increased injury risk where suspended loads, tensioned lines, or personnel lifting systems are involved.
- More frequent replacement cycles when lubrication and wear control are neglected.
A practical inspection program should classify rope condition into at least 3 levels: acceptable for continued service, monitor closely with shorter interval, or remove from service. This simple framework helps non-destructive testing staff, maintenance teams, and safety supervisors communicate clearly without delaying field decisions.
What to Check During a Wire Rope Inspection
A useful wire rope inspection covers more than broken wires alone. Inspectors should evaluate external wear, diameter reduction, corrosion, lubrication condition, deformation, strand movement, end connections, and the rope’s interaction with sheaves or drums. In many industrial sites, the highest-risk areas are the sections that pass repeatedly over sheaves, wrap onto drums, or sit near terminal attachments where bending and compression are concentrated.
Before inspection begins, isolate the equipment if required by site procedure, clean the rope enough to expose the outer wires, and rotate or move the rope slowly so the full circumference can be observed. A flashlight, caliper, inspection rag, and marking paint are often enough for first-line checks. More advanced programs may add magnetic rope testing or internal condition assessment for critical applications with limited visual access.
Inspection findings should be compared against the rope’s nominal diameter, construction, and service history. A 6-strand rope used on a general hoist may show different wear behavior than a compacted rotation-resistant rope on a tower crane or a drag rope on heavy-duty machinery. Context matters because damage acceptance is not judged by appearance alone; it must be linked to function, duty cycle, and risk exposure.
Primary defects that inspectors should identify
The table below summarizes the defect categories most often associated with service-life decline in industrial wire rope. It can be used as a quick reference during routine visual inspections and as a training aid for new inspectors.
The key takeaway is that no single defect should be assessed in isolation. For example, 2 or 3 broken wires in a heavily corroded section may be more serious than a slightly larger count in a clean, lightly loaded section. Likewise, diameter loss combined with poor lubrication often signals more advanced deterioration than visual wear alone suggests.
High-priority inspection zones
- Sections that bend over sheaves with small D/d ratios and high cycling frequency.
- Drum crossover points where the rope rubs and changes layer position.
- Areas within 1 to 2 rope lays of sockets, clips, wedge fittings, or swaged terminations.
- Segments exposed to water, chemical splash, abrasive fines, or heat sources.
Where possible, inspectors should measure rope diameter at the same 3 to 5 reference points each inspection cycle. Consistent measurement location improves trend reliability and makes it easier to confirm whether a suspected 2% to 5% reduction is a true loss or just a one-time reading error caused by dirt, twist, or uneven loading.
How to Evaluate Wear, Corrosion, and Deformation Before Failure Risk Escalates
A disciplined evaluation method helps safety managers separate routine wear from removal criteria. Start with external condition, then verify geometry, and finally assess operating context. This sequence matters because some ropes show only mild surface wear yet have strong evidence of internal distress, while others look discolored but remain structurally serviceable after cleaning and closer examination.
Wear is usually first seen as polished crowns or flattened outer wires. If the original contour of crown wires is visibly reduced across a long section, the rope has lost material through contact friction. In applications with high bending frequency, such as hoists running several hundred cycles per shift, even moderate abrasion can sharply reduce fatigue life because fewer metal sections remain to absorb repeated stress.
Corrosion requires a more cautious approach. Surface rust alone does not always mean immediate removal, but pitting, packed rust between strands, and dry rope condition point to deeper risk. Internal corrosion is especially dangerous because it may not be obvious until strand looseness, red powder discharge, or local diameter change appears. In outdoor or washdown environments, lubrication breakdown can turn a manageable issue into a replacement decision within a single quarter.
Practical condition indicators and response actions
The following table offers a field-oriented way to connect visible condition indicators with likely concerns and the next inspection response. It is not a substitute for equipment-specific standards, but it supports faster and more consistent decisions during routine reviews.
In many industrial programs, deformation is treated as more severe than uniform surface wear. Kinks, crushed sections, or birdcaging can permanently change rope geometry, redistribute loads unevenly, and create internal wire damage that is difficult to verify visually. If a rope no longer lies naturally, spools poorly, or shows a sudden wave pattern, it should be treated as a high-priority condition even if broken wire count remains low.
Useful decision checks during evaluation
- Compare current diameter with nominal diameter and prior readings taken at the same location.
- Count whether broken wires are isolated or concentrated within a short lay length.
- Check whether damage aligns with a mechanical cause such as groove mismatch, fleet angle, or drum crush.
- Review whether lubrication has been applied at the correct interval, such as every 1 to 3 months in normal service or more often in wet duty.
When there is uncertainty, the safest path is to reduce the inspection interval from monthly to weekly, or from weekly to each shift, until the trend is understood. Trend-based decisions are often more reliable than a single observation because they show whether the rope condition is stable, slowly deteriorating, or accelerating toward removal criteria.
Building a Repeatable Inspection Process for QC and Safety Teams
The most effective wire rope inspection program is the one people can actually follow under production pressure. It should define who inspects, how often, what tools are required, how defects are recorded, and when escalation is mandatory. A short checklist used consistently is usually better than a complex form that inspectors skip when equipment demand is high.
A typical industrial process has 4 layers: pre-use visual check, routine scheduled inspection, periodic detailed inspection, and event-based review after overload, snagging, shock loading, or extended idle storage. Each layer serves a different purpose. Pre-use checks catch obvious hazards fast, while periodic detailed inspections support life-cycle decisions and replacement planning.
Documentation should capture more than pass or fail. Record rope type, equipment number, installation date if known, inspection date, observed defects, exact location on the rope, estimated affected length, and action taken. Even 6 to 8 fields of consistent data can significantly improve trend analysis and help purchasing teams forecast spare rope demand more accurately.
Suggested inspection workflow
- Verify equipment is in a safe state for inspection and review previous reports.
- Clean visible contaminants and inspect the full rope length that can be accessed.
- Mark any suspicious section and measure diameter at predefined reference points.
- Check terminations, sheaves, drums, and signs of lubrication failure.
- Classify condition as continue service, monitor closely, or remove from service.
- Document results and assign the next inspection date based on severity.
Training is equally important. Inspectors should be calibrated on examples of broken wires, crown wear, corrosion stages, and deformation types. A 30-minute toolbox review every quarter can reduce inconsistent judgment between shifts. For multi-site operators, photo-based defect references and standardized acceptance notes help align decisions across facilities.
Inspection frequency planning by duty level
The matrix below can help quality and safety teams choose practical intervals based on operating severity. Actual intervals should still follow equipment design requirements, site risk controls, and relevant standards.
The main conclusion is that frequency should follow risk, not habit. A rope in severe duty may require 4 times the inspection attention of a lightly used indoor rope. If service conditions change, such as a move from dry indoor storage to wet outdoor operation, the inspection interval should be updated immediately rather than waiting for the next annual review.
Common Mistakes, Removal Decisions, and Procurement Considerations
Many wire rope problems are made worse by avoidable mistakes. One common error is judging rope condition only by appearance without checking operating hardware. If the sheave groove is worn, the fleet angle is incorrect, or the drum layers cross poorly, a replacement rope may fail early for the same reason as the previous one. Inspection should therefore include both the rope and the components that influence its service life.
Another mistake is delaying removal because the rope is still functioning. A rope can remain operational while already exceeding safe wear or deformation limits for the application. Safety managers should define clear triggers for escalation, such as clustered broken wires, sudden diameter change, birdcaging, severe crushing, or corrosion that prevents reliable visual assessment. Once those conditions appear, continued use should require formal engineering review rather than informal judgment.
Procurement decisions also affect inspection outcomes. Selecting the wrong rope construction, surface finish, or lubrication type can shorten service life and increase inspection burden. For example, ropes in humid or chemical-prone areas may benefit from corrosion-resistant options and maintenance plans that support more frequent relubrication. In high-cycle bending service, fatigue performance and compatibility with sheave diameter are often more important than unit purchase price alone.
Frequent inspection and replacement mistakes
- Replacing the rope without correcting worn sheaves, groove mismatch, or drum damage.
- Ignoring localized damage because the rest of the rope looks acceptable.
- Using inconsistent measurement points, making diameter trends unreliable.
- Applying too little or too much lubricant, both of which can hide defects or accelerate contamination.
- Buying replacement rope based only on diameter and not on construction, lay, core type, and operating duty.
For purchasing and maintenance teams, it helps to evaluate replacement rope options using a short technical checklist before ordering. This reduces mismatch risk and supports faster commissioning after delivery.
FAQ for QC and safety managers
How often should a wire rope be replaced?
There is no fixed universal replacement interval such as 6 months or 12 months. Replacement depends on duty cycle, environment, defect progression, and equipment requirements. A lightly used indoor rope may last far longer than a high-cycle outdoor rope exposed to moisture and abrasion. The better practice is condition-based replacement supported by documented inspections.
What is the first sign that usually deserves closer review?
In many operations, the earliest useful sign is localized change: a short section with polished wear, a cluster of broken wires, or a small diameter drop compared with previous readings. Localized change matters because it often points to a mechanical cause such as sheave contact, terminations, or drum crossover pressure.
Should corrosion always mean immediate removal?
Not always. Light surface oxidation may be manageable if the rope retains lubrication, wire texture is intact, and no pitting or deformation is present. However, packed rust, rough pitted wires, or evidence of internal corrosion should trigger a much more conservative decision, especially in critical lifting or personnel-related applications.
What should buyers ask suppliers before ordering replacement rope?
Ask for confirmation of rope construction, nominal diameter, grade, lay direction, core type, lubrication condition, and suitability for your sheave and drum system. It is also useful to confirm standard delivery lead time, packaging method, and whether inspection certificates or traceability records are supplied with each batch.
A strong wire rope inspection program protects more than equipment. It supports safer operations, better shutdown planning, more accurate replacement timing, and stronger purchasing decisions across industrial equipment and components environments. For quality control and safety managers, the most reliable approach combines regular visual checks, trend-based measurement, defect classification, and review of the hardware that affects rope life.
If you are evaluating wire rope condition, reviewing replacement criteria, or planning a more consistent inspection process, now is the right time to standardize your checklist and decision thresholds. Contact us to discuss your application, get a tailored inspection approach, or learn more about practical wire rope solutions for demanding industrial operations.
Navigation
Send Us A Message



Shandong Faster Technology Co., Ltd. is a professional manufacturer of steel wire ropes.
Get in Touch
*We respect your confidentiality and all information are protected.