





How to Measure Wire Rope Tension Without Damaging the Line
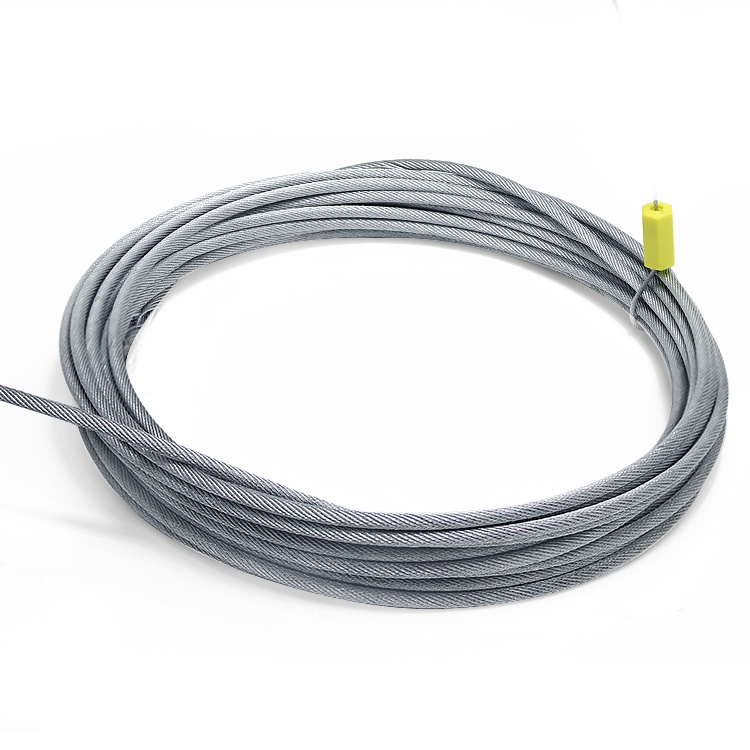
When a rope is already in service, the real job is not just getting a number. It is getting a usable wire rope tension reading without pinching strands, flattening the outer wires, or introducing damage during inspection. For quality teams and safety managers, that usually means choosing a non-destructive method, checking the rope condition first, and knowing when a reading is trustworthy and when it is not.
In lifting, port handling, construction, mining, and marine work, tension affects load sharing, braking behavior, rope life, and the way a system responds under shock. A rope that looks fine can still be running with uneven tension. That is where inspections often go wrong: the instrument is fine, but the measurement point, rope condition, or operating state is wrong.
Start by checking whether the rope can be measured accurately
Before you bring in a gauge, look at the rope and the section you plan to test. Non-destructive tension tools depend on rope geometry staying reasonably consistent. If the rope has visible crushing, severe corrosion, birdcaging, broken wires, heavy contamination, or a flattened contact area from a drum or sheave, your reading may drift even if the device itself is calibrated.
- Pick a straight, accessible section, away from end fittings, clips, sockets, and fresh bend points.
- Avoid measuring directly next to a sheave, drum wrap, or crossover point.
- Confirm rope diameter and construction from the rope certificate, purchase record, or equipment file before selecting the instrument range.
- If the rope has been recently lubricated, clean only the contact area needed for the instrument. Do not strip lubrication from a long section just to take a reading.
That last point matters more than people think. Over-cleaning for inspection can do more harm than a slightly messier measurement.
Use a clamp-on mechanical or electronic tension meter for routine checks
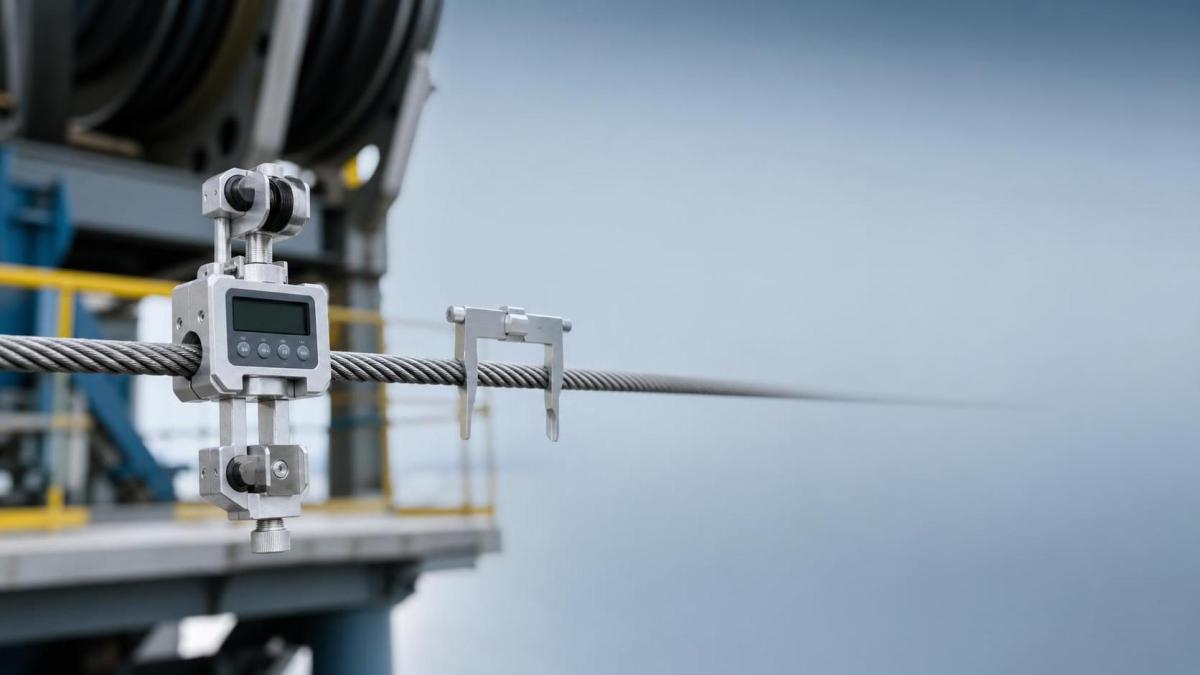
For most field inspections, a properly matched clamp-on tension meter is the safest choice. These tools measure deflection or compression in a controlled way and convert it to rope tension based on rope diameter and construction. They are fast, portable, and suitable for repeated checks during maintenance rounds.
The common mistake is treating them as universal. They are not. A meter set up for one rope type can give a poor result on another, especially when moving between ordinary stranded ropes and anti-rotation constructions.
For example, if you are checking an anti-rotation rope used on tower crane hoisting, port rigging, or mining traction, the rope structure changes how it reacts under compression and bending. A multi-strand product such as 19x7 galvanized steel wire rope 4.0-18.0mm Anti rotation steel cable has different torsional behavior from a simpler single-strand construction, so your instrument setup has to match the actual rope data, not just the nominal diameter.
In practice, use this quick sequence:
- Verify rope diameter with a proper rope caliper at more than one location.
- Select the meter setting for the exact rope construction if the device supports it.
- Apply the meter on a straight run under stable load, not during acceleration or braking.
- Take at least three readings a short distance apart and compare them.
- If one reading is off while the others agree, inspect that spot before averaging anything.
Know when a load cell is the better answer
If the system allows it, an inline load cell usually gives a cleaner tension value than a clamp-on meter. This is especially useful during commissioning, proof testing, or troubleshooting uneven load distribution across multiple lines. The drawback is obvious: you need a place in the rigging arrangement to install it, and that is not always practical on live equipment.
For routine quality control on installed ropes, load cells are often too intrusive. For setup work, they are excellent. Use them when you need a reference value to validate field meter readings or when safety decisions depend on tighter confidence in the number.
Do not rely on “feel” or visual sag except for rough screening
Teams under time pressure still do this. Someone taps the rope, checks sag, compares one line to another, and calls it acceptable. That may be enough to spot a badly unbalanced set, but it is not a measurement method. Rope self-weight, span length, wind, temperature, reeving arrangement, and friction all change what your eye sees.
Use visual sag only as a trigger for instrumented follow-up. It is a screening tool, nothing more.
Watch the conditions that distort the reading
Most bad tension data comes from a short list of avoidable conditions. If you control these, your wire rope tension checks become much more useful.
Check the rope specification before judging the number
A tension value by itself does not tell you much. You need the allowable operating context: rope construction, diameter, equipment arrangement, and the manufacturer or project documentation that defines the expected load condition. This is where quality and safety teams sometimes mix up breaking strength data with working tension. They are not interchangeable.
If you are dealing with galvanized or stainless options, or with plastic-coated rope, check the exact product record. A manufacturer with broad rope output and full-process control can usually supply the dimensional and production information you need, but your inspection decision should still be tied to the rope actually installed on the machine, not to a generic catalog entry.
Where anti-rotation ropes are used for load stability, such as crane hooks, ship loading equipment, or traction winches, it is worth confirming whether the installed rope is a 19x7 type and whether its diameter falls within the expected range. On products like 19x7 galvanized steel wire rope 4.0-18.0mm Anti rotation steel cable , the available diameters run from 4.0 mm to 18.0 mm, so a wrong diameter entry in the maintenance file can undermine the whole check.
Treat uneven readings as a system problem, not just a rope problem
If one rope in a multi-line arrangement carries more load than the others, do not stop at the rope. Look at reeving symmetry, drum spooling, end termination alignment, sheave condition, and whether the line has seated properly after installation. Repeated retensioning without fixing the mechanical cause usually wastes time and can shorten rope life.
A useful field habit is to record three things together: measured tension, rope condition, and operating state. When those are logged as one set, trend changes become much easier to interpret during later inspections.
A practical inspection order that holds up in the field
Use a visual condition check first. Confirm rope identity and diameter second. Measure on a straight section with a matched non-destructive meter while the load is stable. Repeat readings before accepting the result. If the numbers disagree with expected load sharing, step back and inspect the rigging system, not only the rope surface.
That order sounds simple, but it prevents the two failures that show up again and again: damaging the line during inspection, and trusting a tension number that was never valid to begin with.
Navigation
Send Us A Message



Shandong Faster Technology Co., Ltd. is a professional manufacturer of steel wire ropes.
Get in Touch
*We respect your confidentiality and all information are protected.